
To display your job openings on your website, you'll need to copy/paste the javascript code into a page on your website.
To locate your embed code,
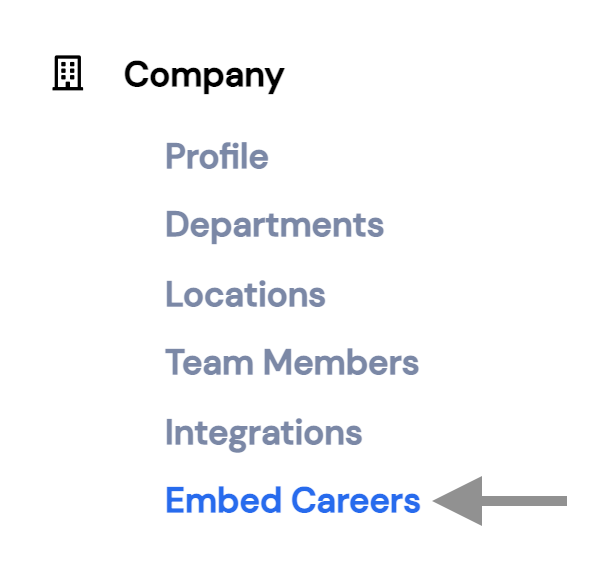
- Got to Settings
- Click on
- Embed Careers
Follow the instructions based on what embed you would like on your website.
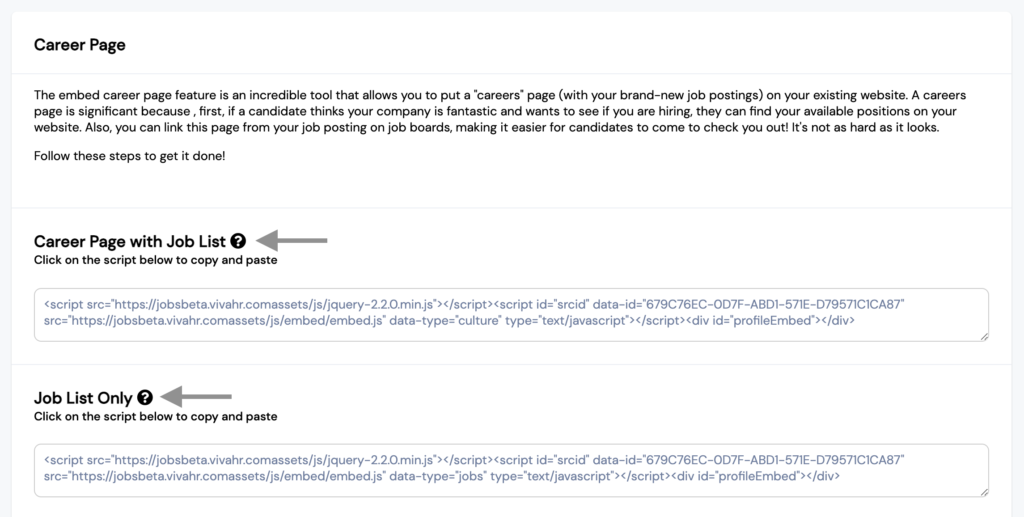
Career Page with Job List
This type of embed will use your default Culture Profile as your Careers page. It will load the list of jobs below the photos, videos, and any culture media you've added.

Job List Only
You may already have a Careers page created on your website and looking only to add the list of open positions. You'll want to add the script on the page where you'd like the jobs to be listed.
Install on WordPress Website
- Open your internet browser and navigate to your website. Ex: http://www.mywebsite.com
- Navigate to the address bar on your internet browser.
- Click onto the address bar and type /wp-admin right after your URL. Ex: http://www.mywebsite.com/wp-admin. Make sure to include the forward slash before wp-admin.
- Note: If you run into an error using /wp-admin after your URL, try /wp-login. If neither method works, you may not be hosting your website on WordPress, or that URL is blocked from public access. Please get in touch with your website administrator or webmaster.
- If you are successful, then you should have landed on a login page. Enter your login credentials.
- Note: If you do not remember your login, please refer to your website administrator or webmaster to verify your login information.
- Once you log in, you should arrive on the main page of your WordPress panel. Verify that you are on the "Dashboard" indicated at the top left of the page. Although not common, it is OK if you have landed on a different page. Just make sure you can navigate to the following page indicated in the next step.
- On the left side of the WordPress dashboard, click on the link that says "Pages." This will navigate you to the "Pages" panel, where you can see a full list of all your website pages.
- Find the page you would like to install your careers page. If you are installing your careers page on a new page, then continue to the next step.
- Note: We highly recommend that you start a new page and unpublish your old Careers page rather than deleting it so that you can revert it to the old page when you no longer want to showcase your culture profile.
- To install on a brand new page/URL, click on the "add new" button located at the top left of the page.
- The first thing you'll want to do is enter a title for this page.
- Note: The title will essentially be used as part of the URL structure that visitors will navigate to; however, you can always change the URL structure at a later time.
- Once you enter the title, you notice the permalink below the title box will populate with the full URL, including the title. This will be the link that visitors can use to visit your profile page.
- Note: Click on the edit button if you want your URL structure to differ from the title page. Rename your permalink to the desired URL.
- You should see a large text editor in the middle of the page, just below the page title box.
- On the top right of the text editor, you should see two tabs: Visual and Text. Click on the text tab. This is where we will be pasting the script from above.
- Copy the script from above this page, and paste the code right into the text editor.
- Note: Feel free to apply any additional HTML markups above and below the script. However, do not change any of the script's content as it will not work if modified.
- Over to the right of the text editor, you should see a "Publish" box. Click on the blue button that says publish at the bottom of the box.
- Once you have clicked on publish, the page will notify you that the page is now public.
- Congrats! Your Careers Page is now available for job seekers to view and apply to your jobs.
- Note: If you run into any issues installing the code, please refer to your website's administrator or webmaster for any assistance.
Install on a Custom Website via FTP
- There are several different types of FTP clients available. If you do not currently have an FTP client, then you can download one online for free for your computer. Just make sure you download one that works with your operating system, Windows or Mac. i.e. google search: “cyberduck”, “FileZilla”, “Terminal”, etc.
- Once you download your FTP client, before you can continue, you’ll need to grab some information about your websites, such as the server name and FTP logins.
- Find out who your current domain hosting company is, i.e., GoDaddy, HostGator, Namecheap, etc.
- Note: If you are unsure about who your domain hosting company is, please refer to your website administrator or webmaster.
- Obtain your FTP login from your domain hosting company or website administrator, or webmaster.
- Once you obtain your FTP login, use the credentials to log into your website through your FTP client.
- Once you successfully log in, navigate to the folder that is hosting the page you want to show your careers page.
- If you are creating a new page, make sure you create a new file with the correct coding language that corresponds with your website structure, i.e., HTML, PHP.
- Refer to your website administrator or webmaster to review the website's structure to make sure you are adding the new page in the right folder.
- Paste the script anywhere within the page before the ending body tag i.e.
- Make any additional changes before or after the script if necessary before saving.
- Once you successfully pasted the script into your new page, make sure you save the file from pushing the new page live.
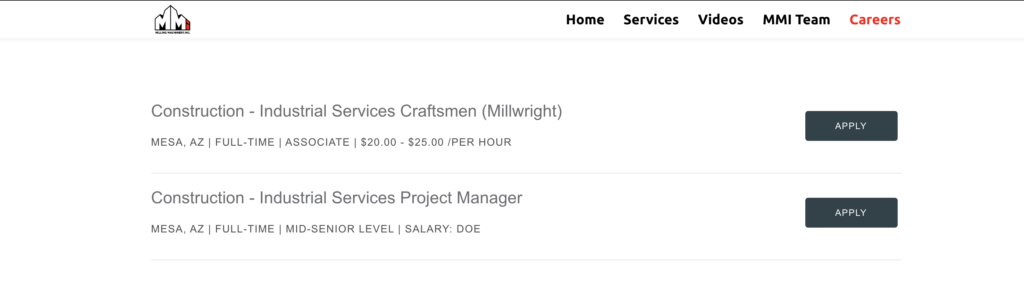
- Open your browser and navigate to your new page. You should see your careers page and the navigation buttons above your careers page to view your jobs.
- Make sure all your content is visible, and any buttons are functional.
- If you encounter any error messages, please refer to your website administrator or webmaster.